Create a Custom NIU Photo Collage
Choose one of these iconic NIU locations to use as a background for a custom NIU photo collage to share on social media!
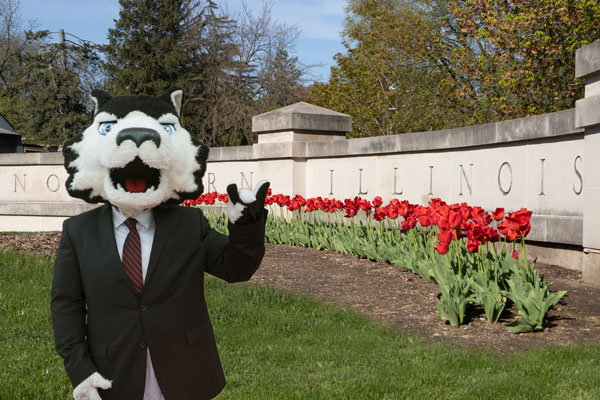
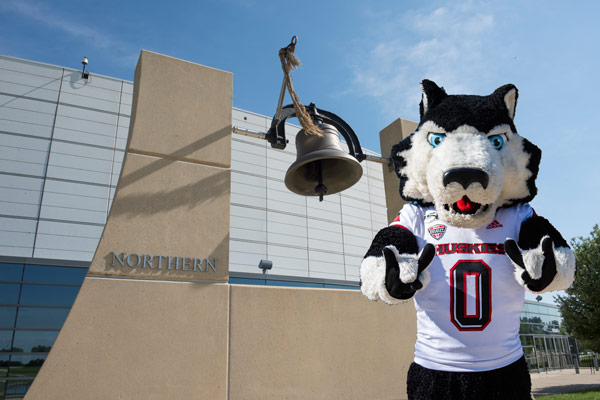
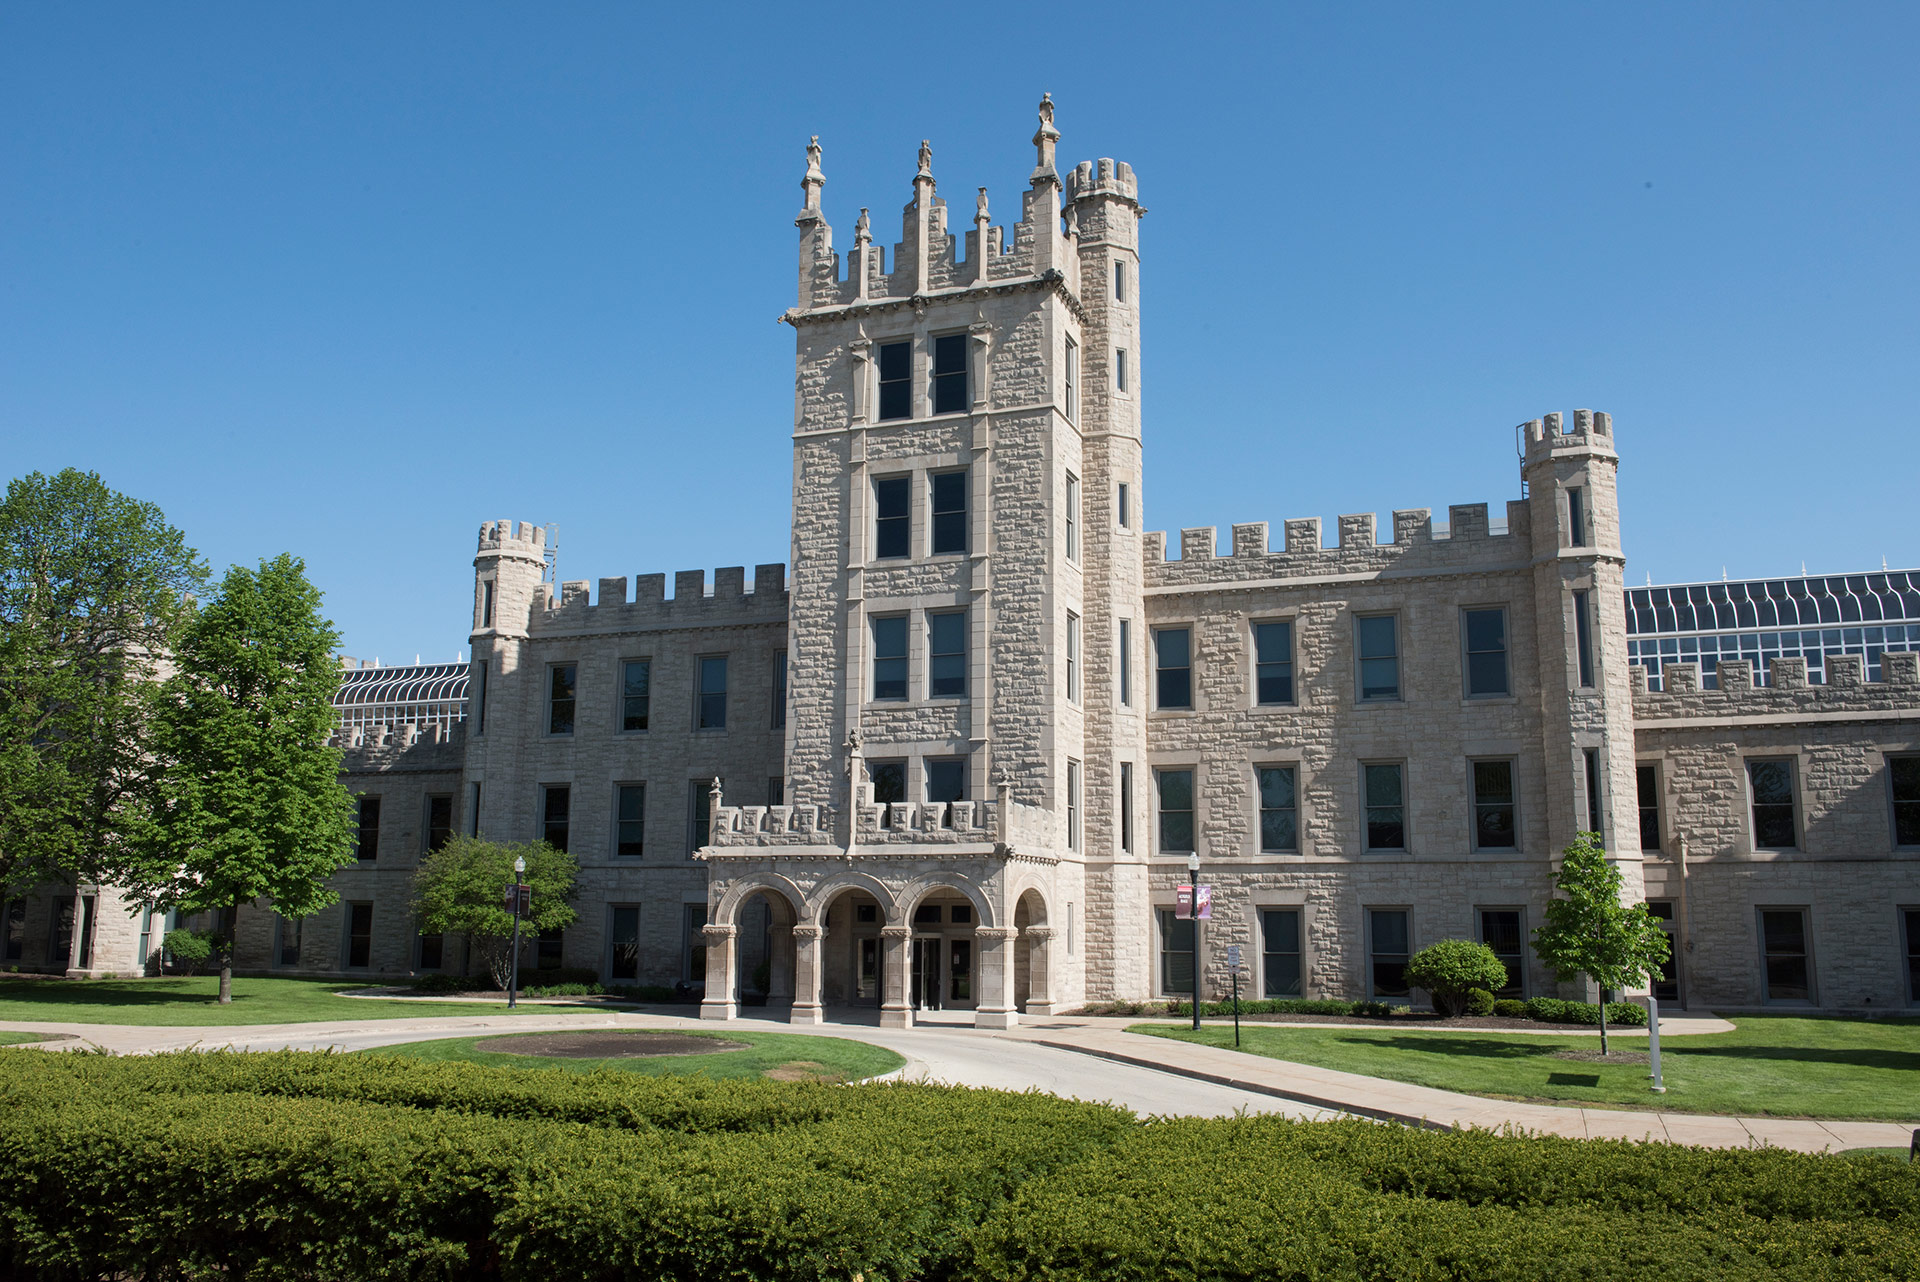
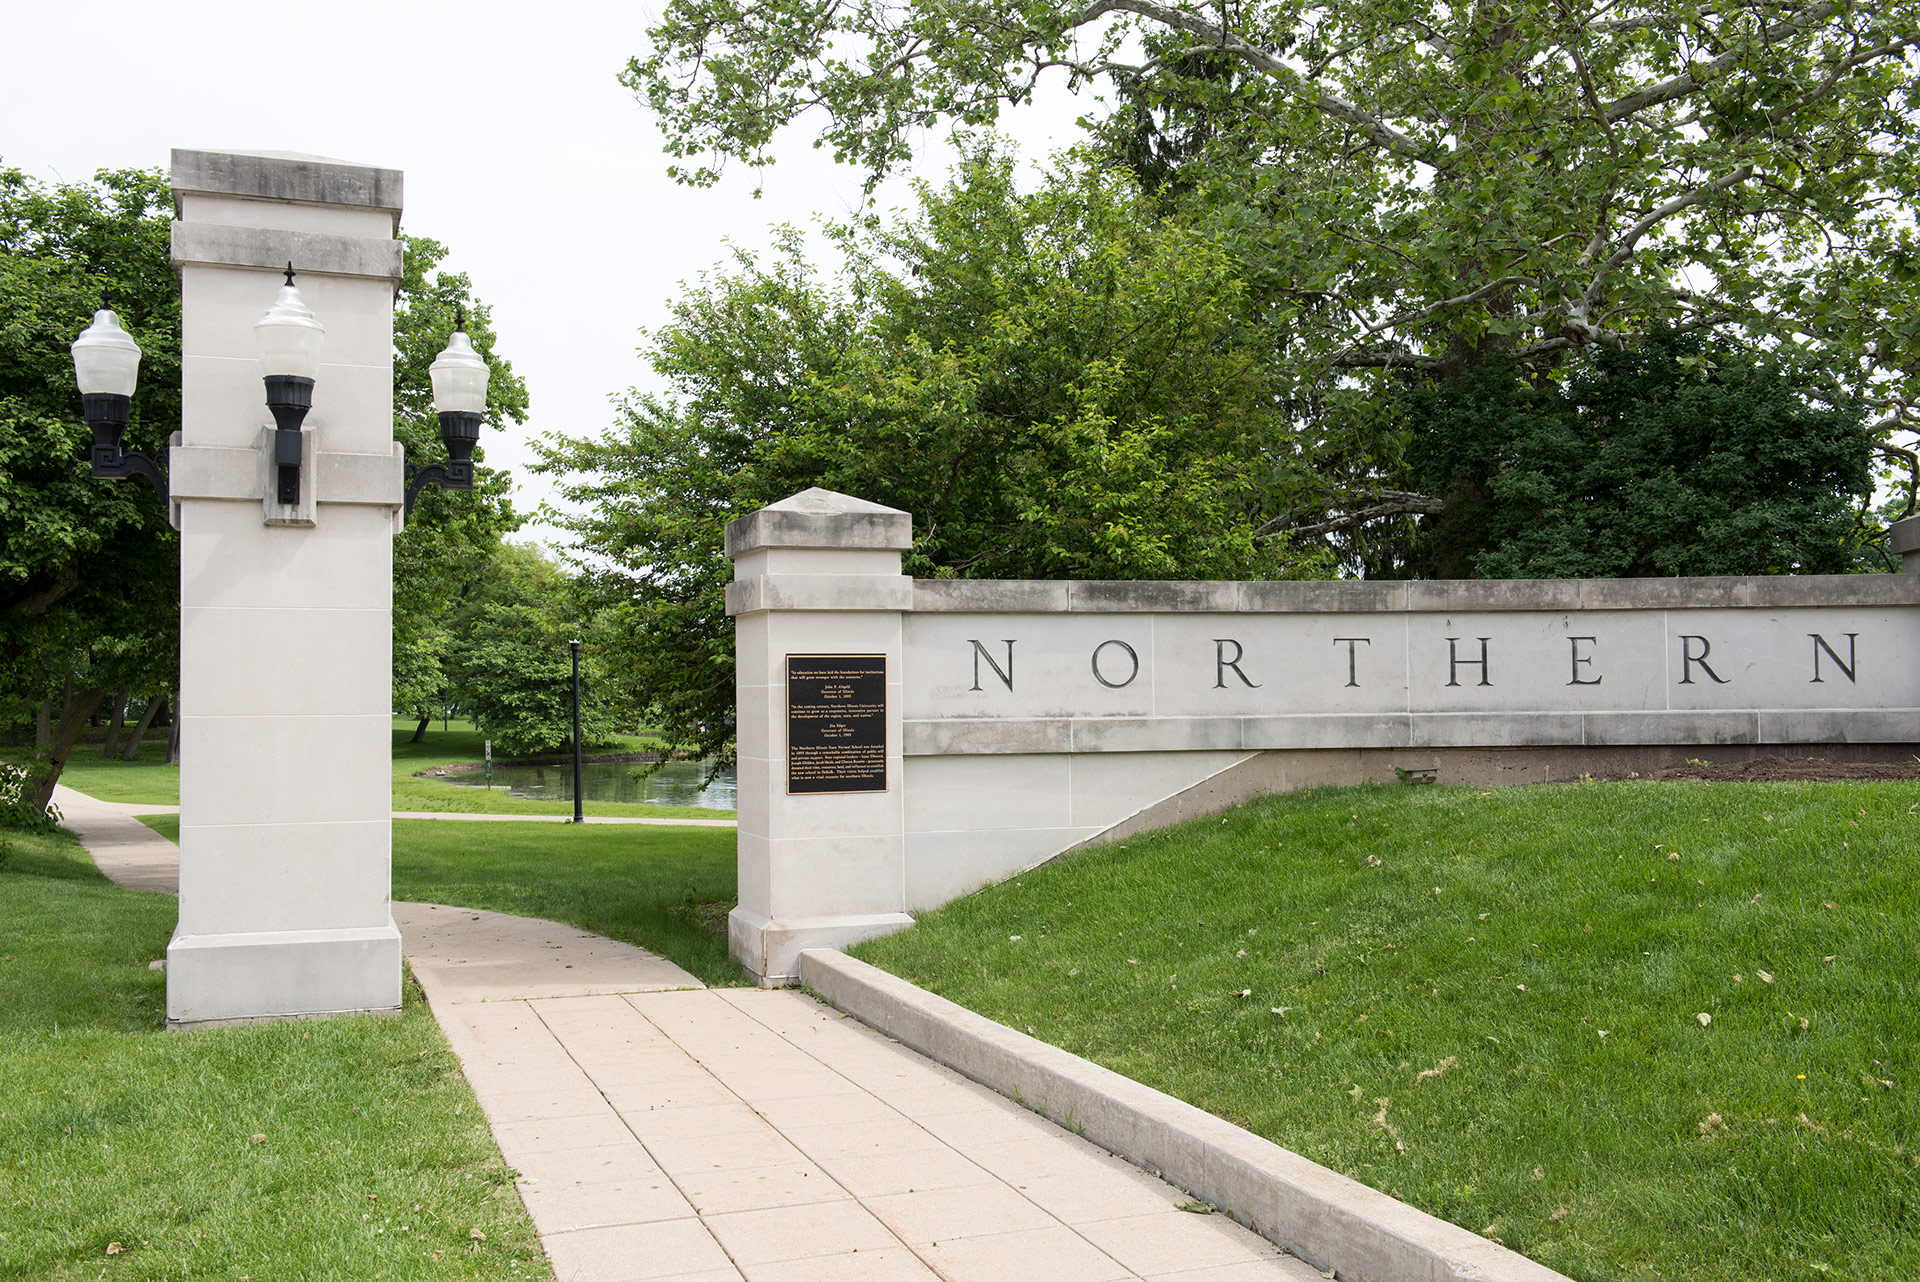
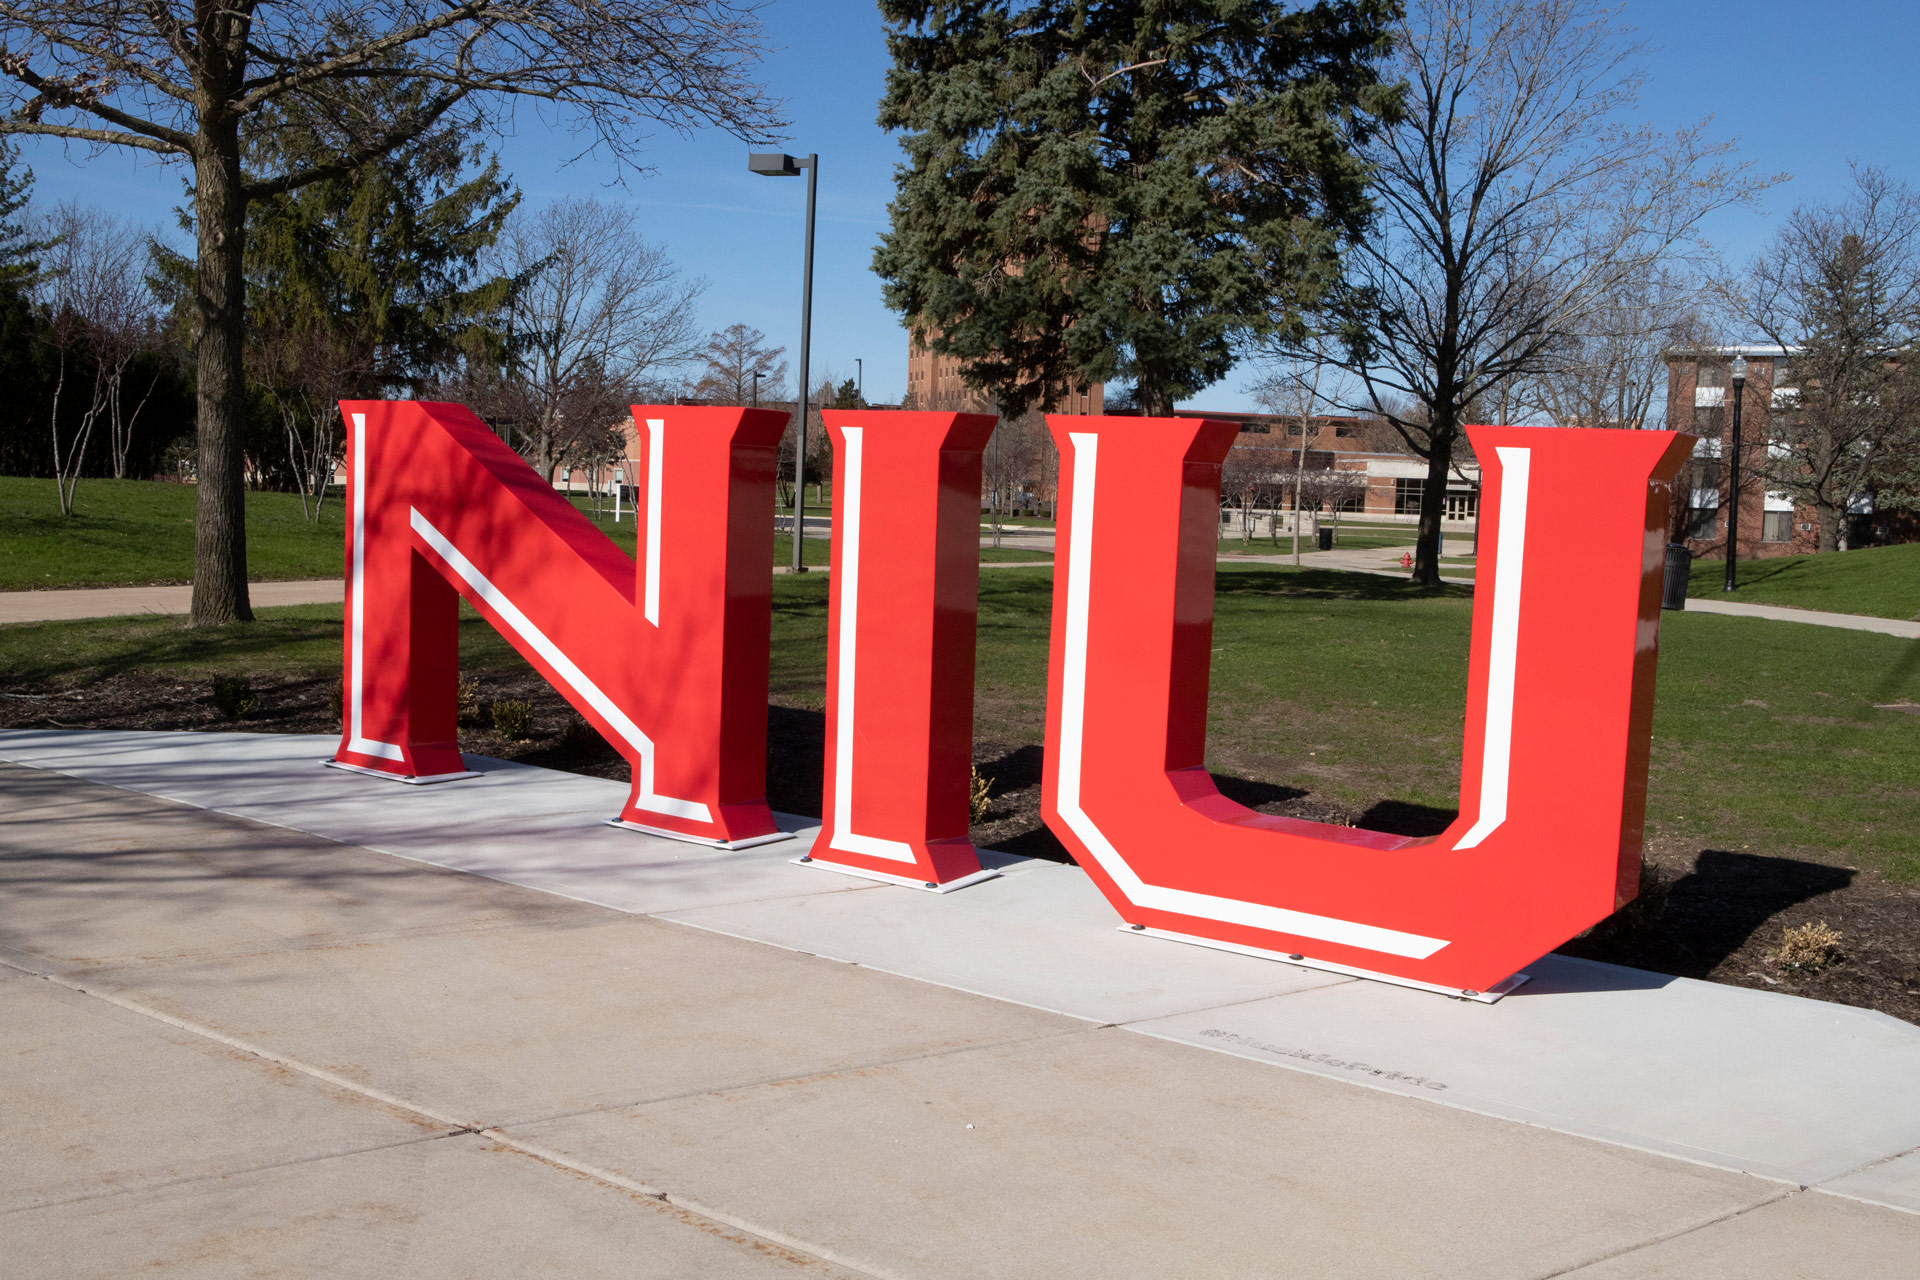
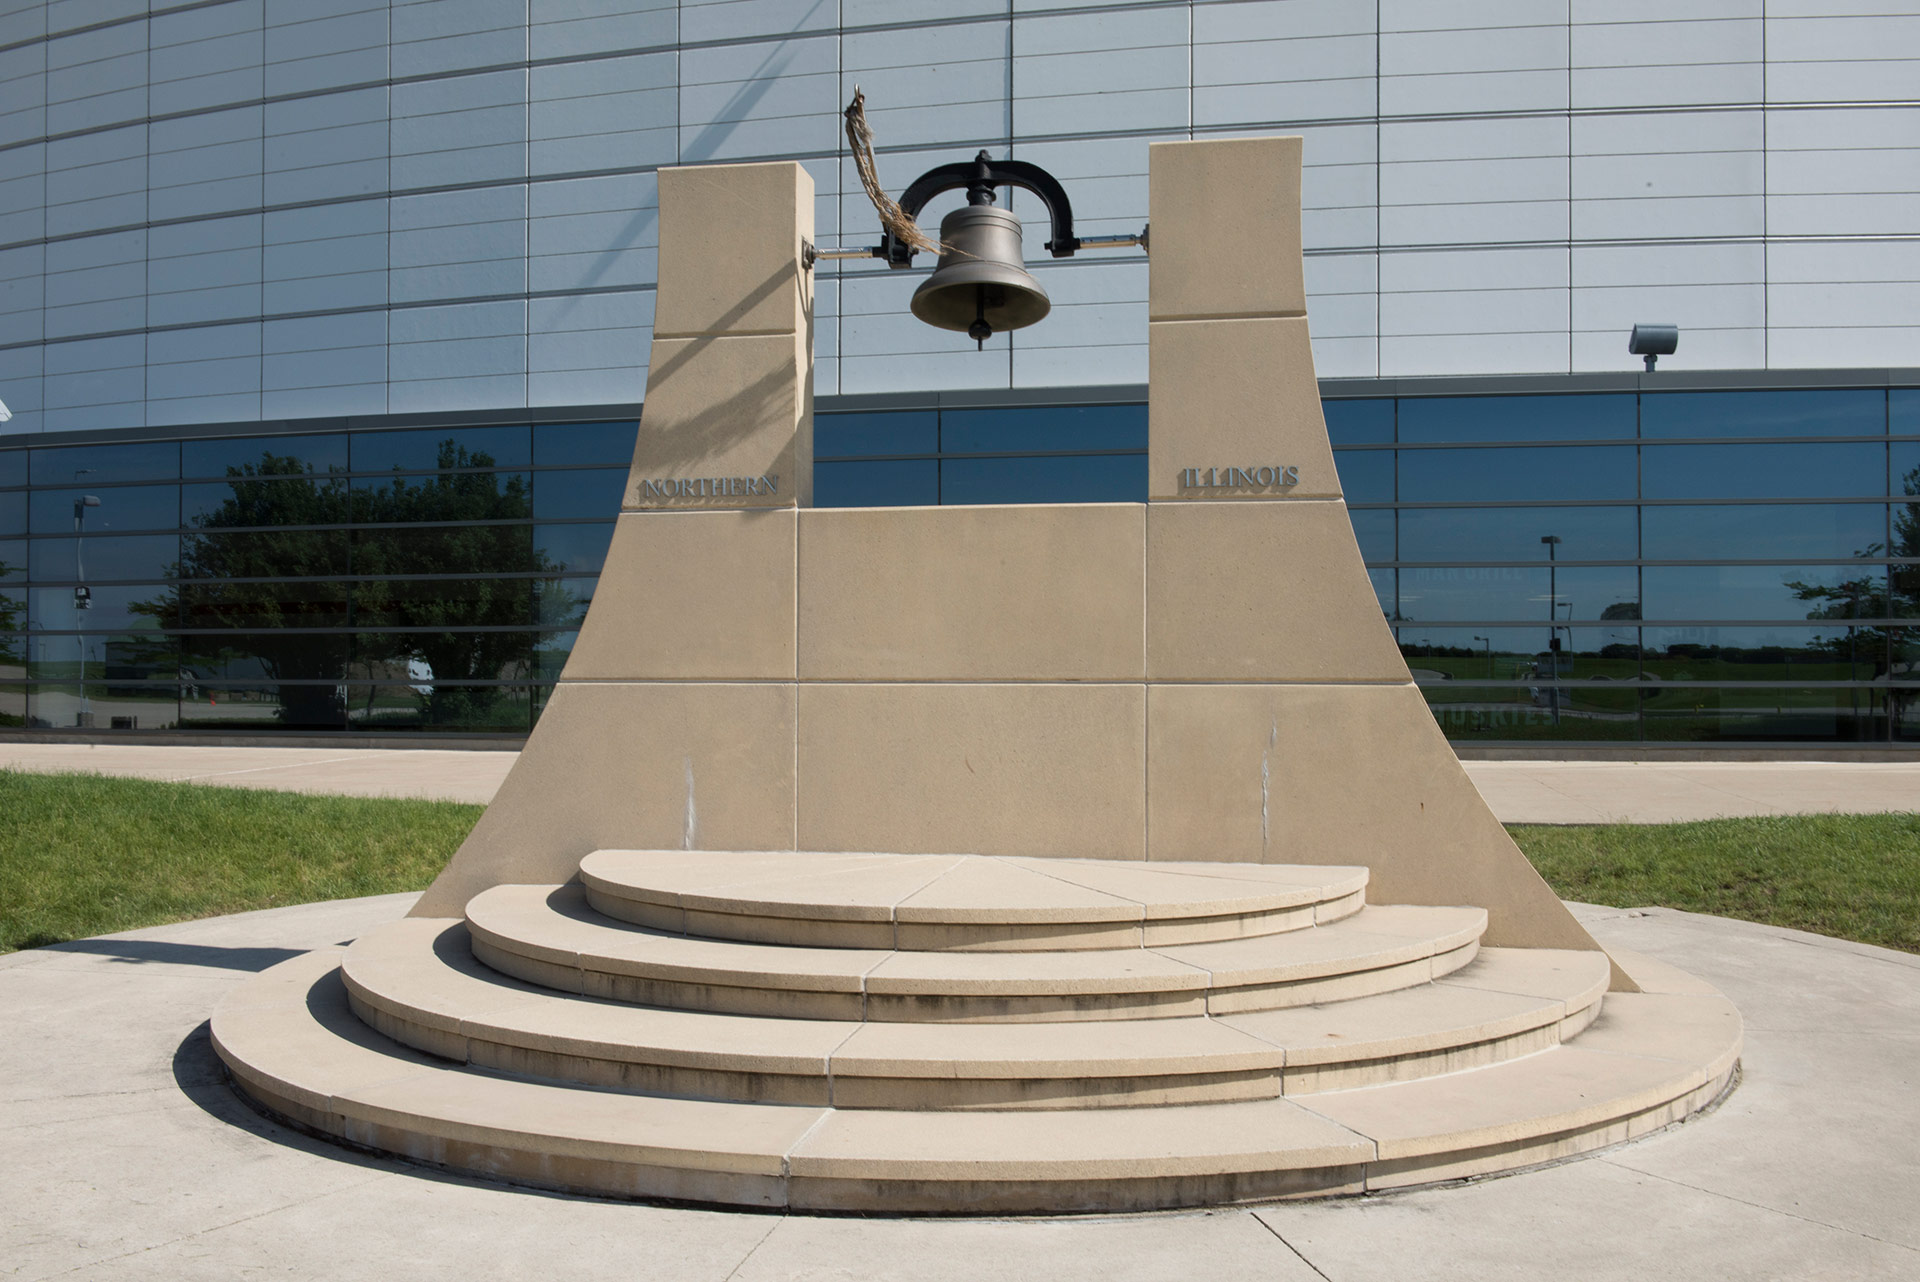
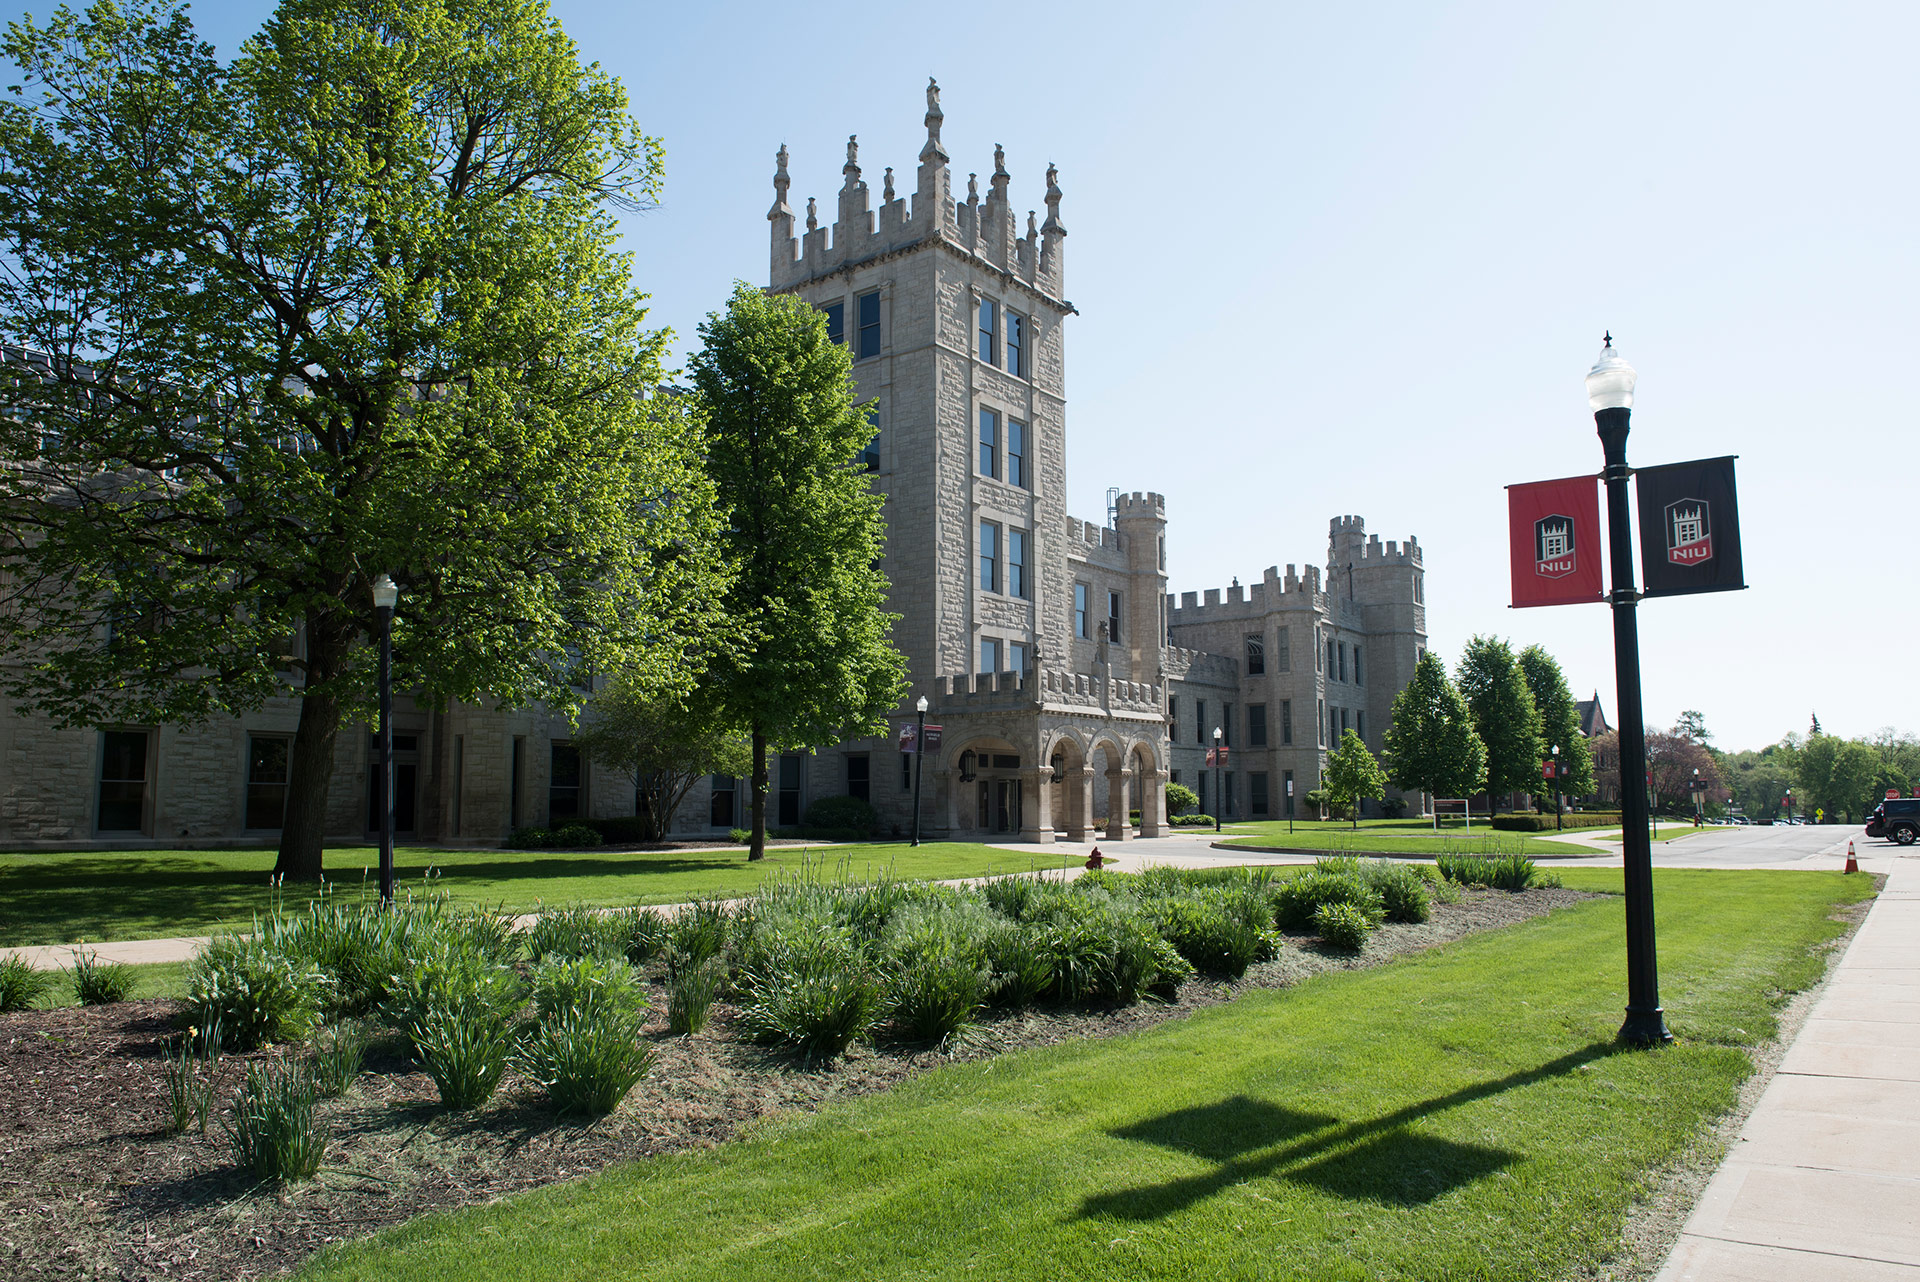
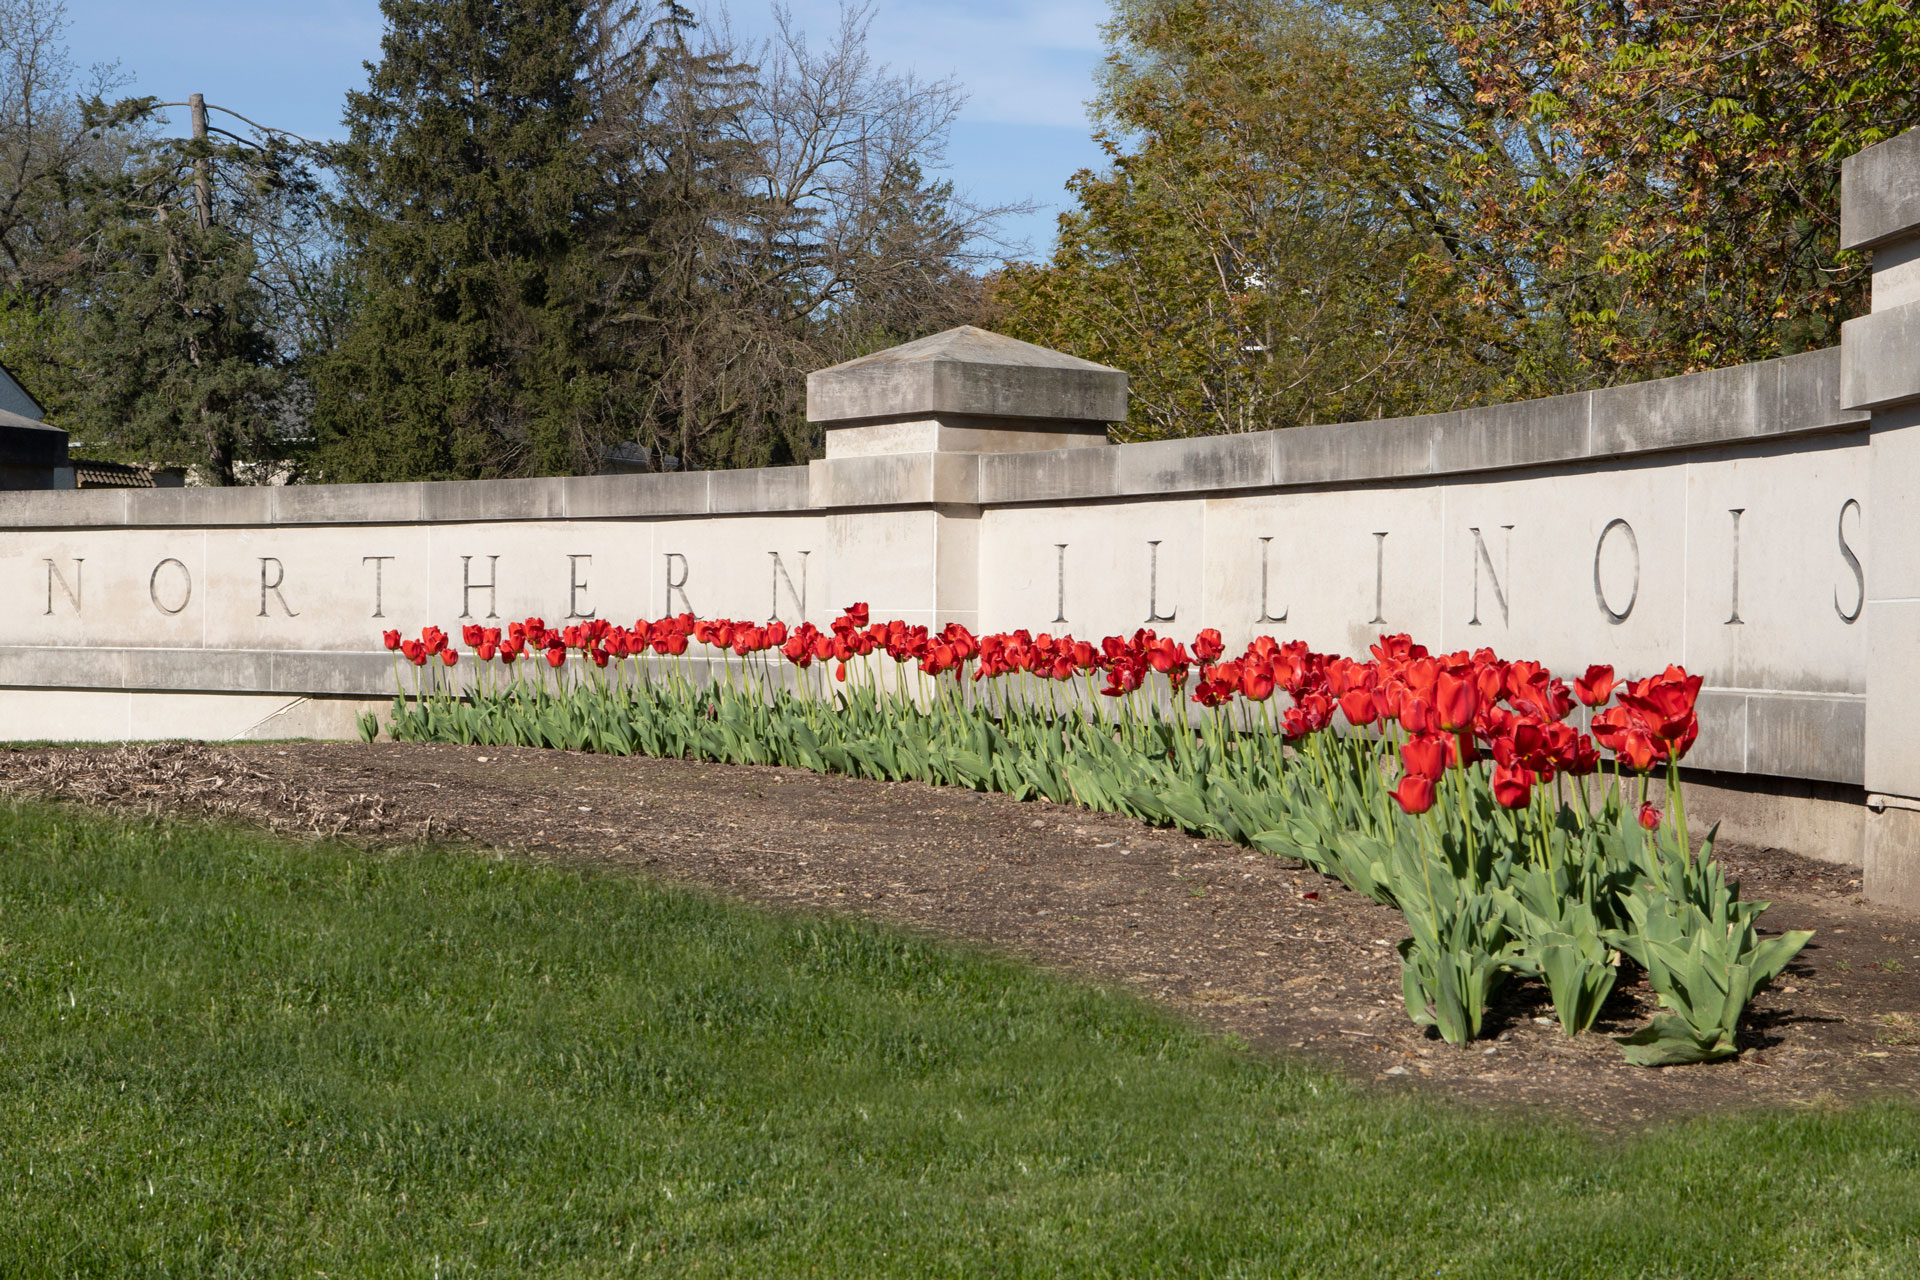
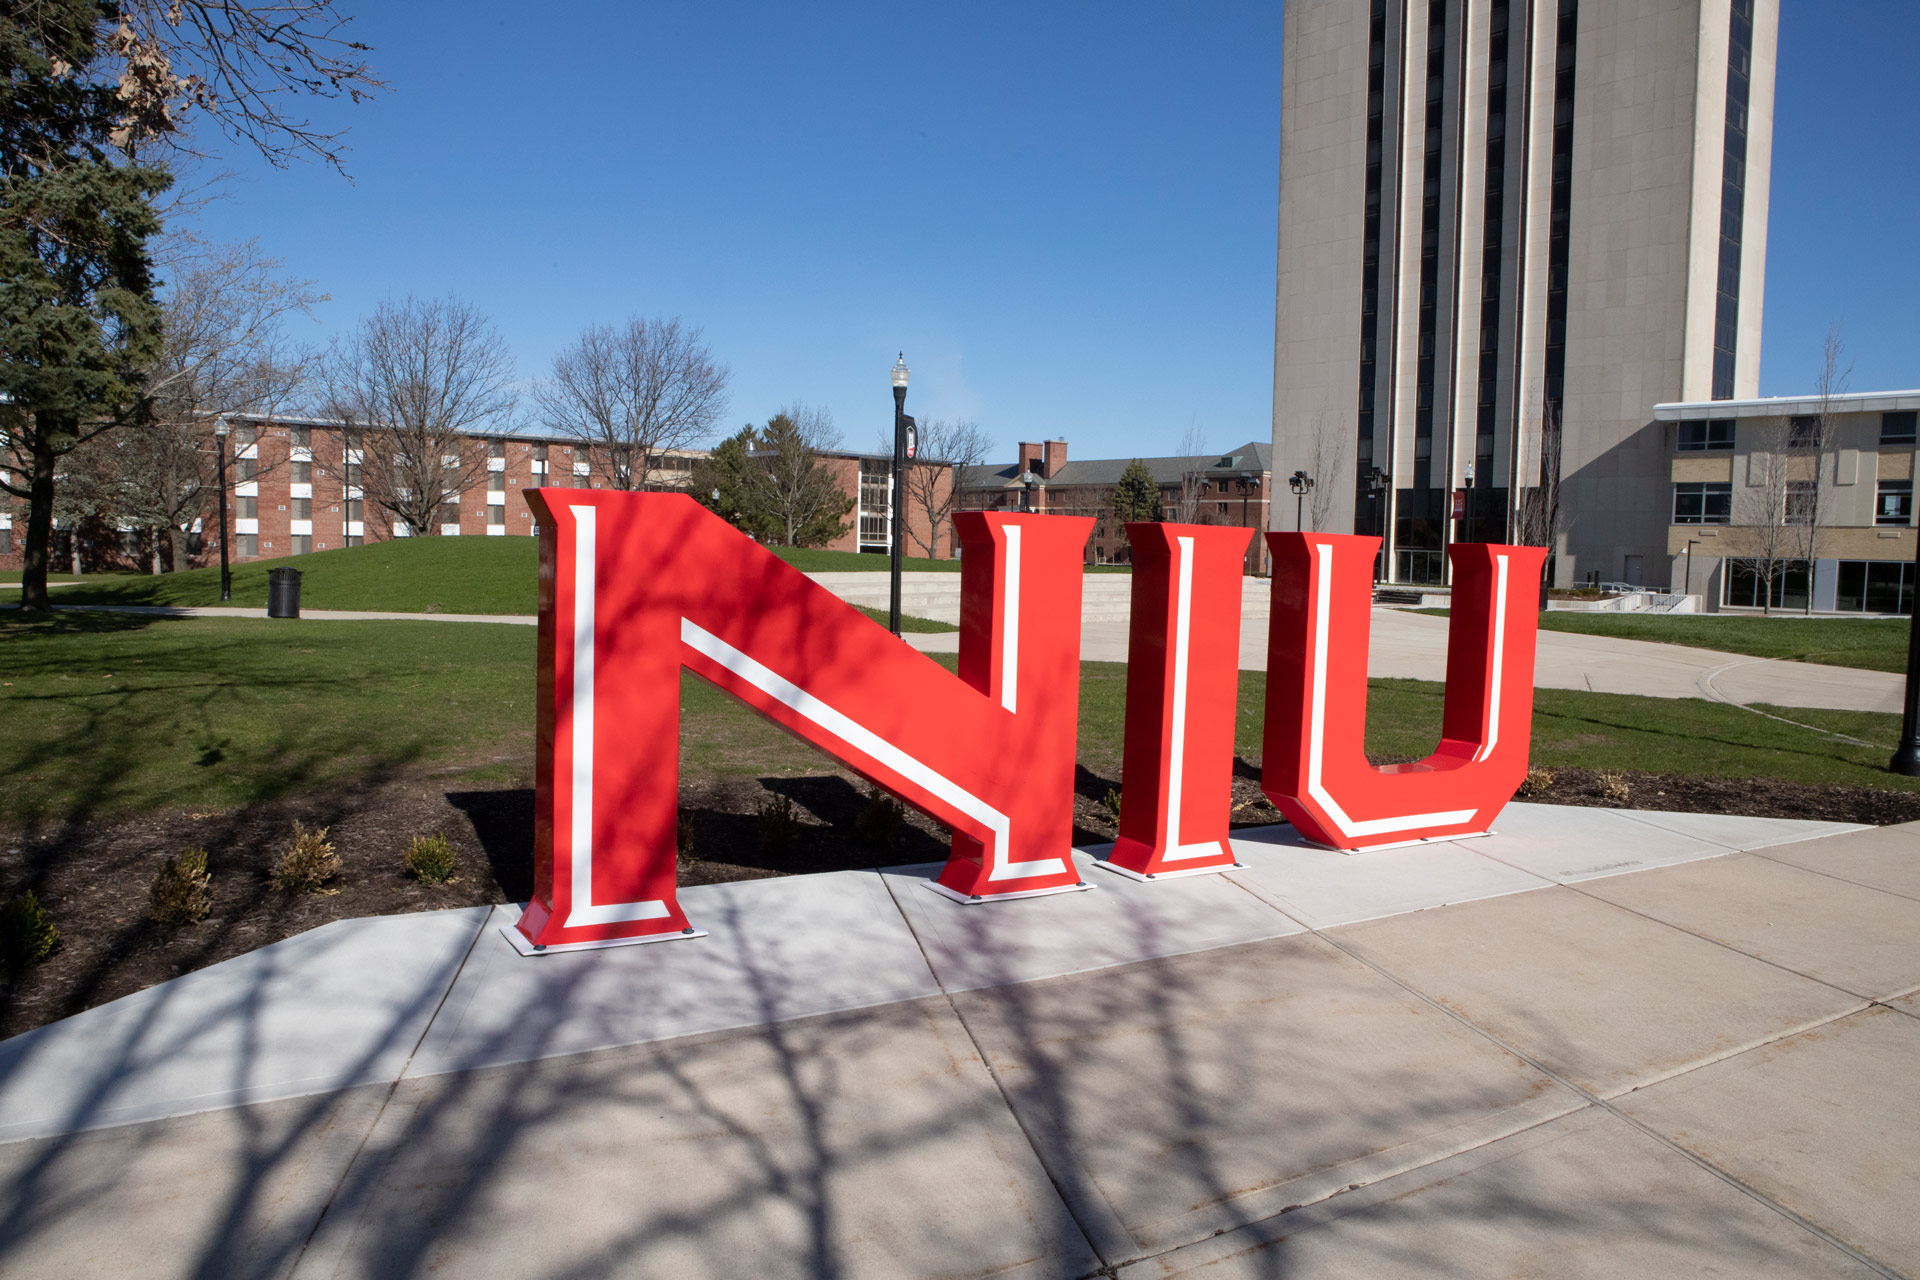
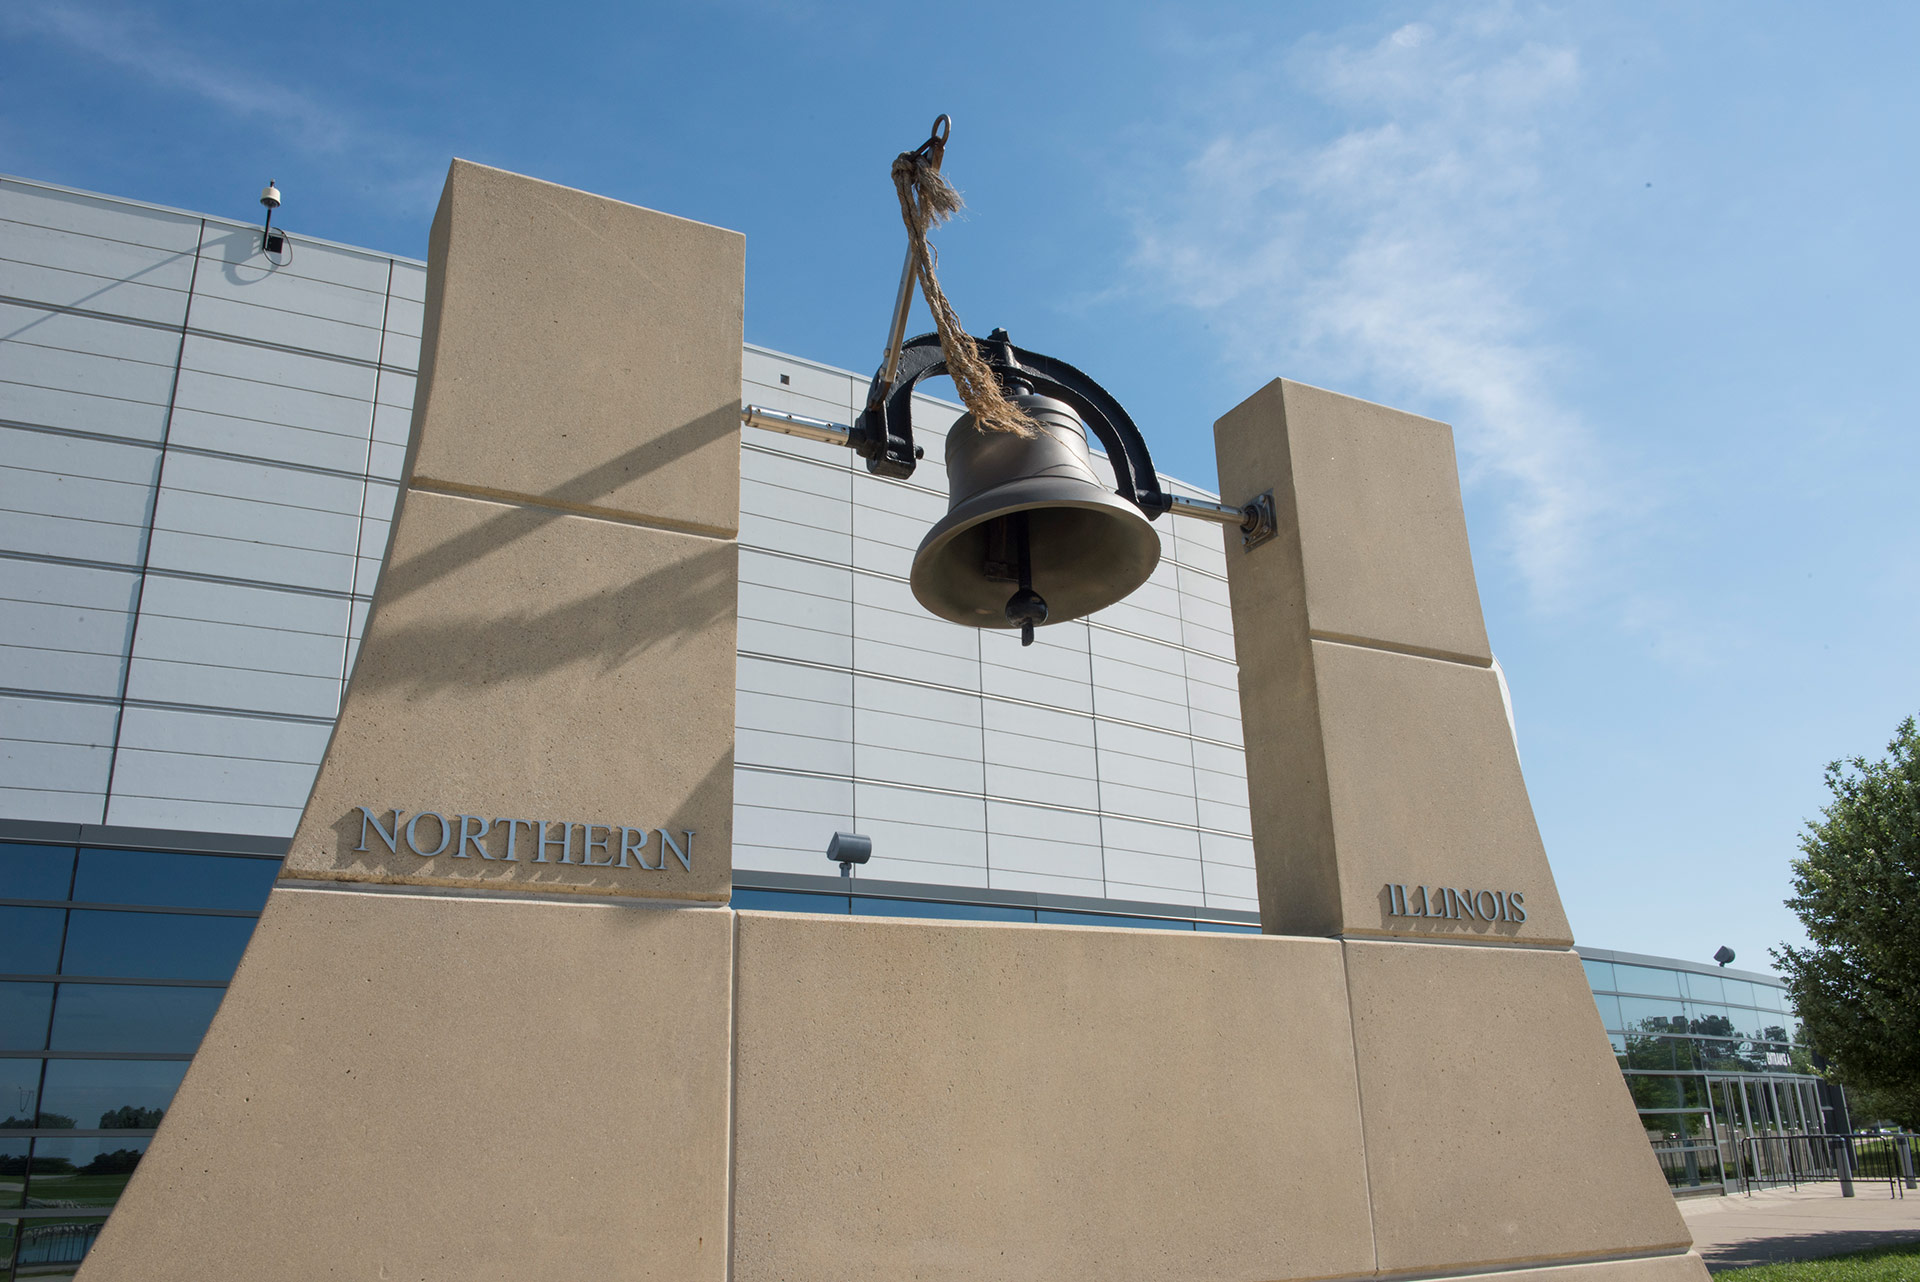
Pick a Campus Photo Background
Click on the thumbnail image to view the full-size background for download...or go take a photo in person at the location.
| Altgeld Hall | Castle Gates | Huskie Pride Sculpture | Victory Bell | Scenics |
|---|---|---|---|---|
 |
 |
 |
 |
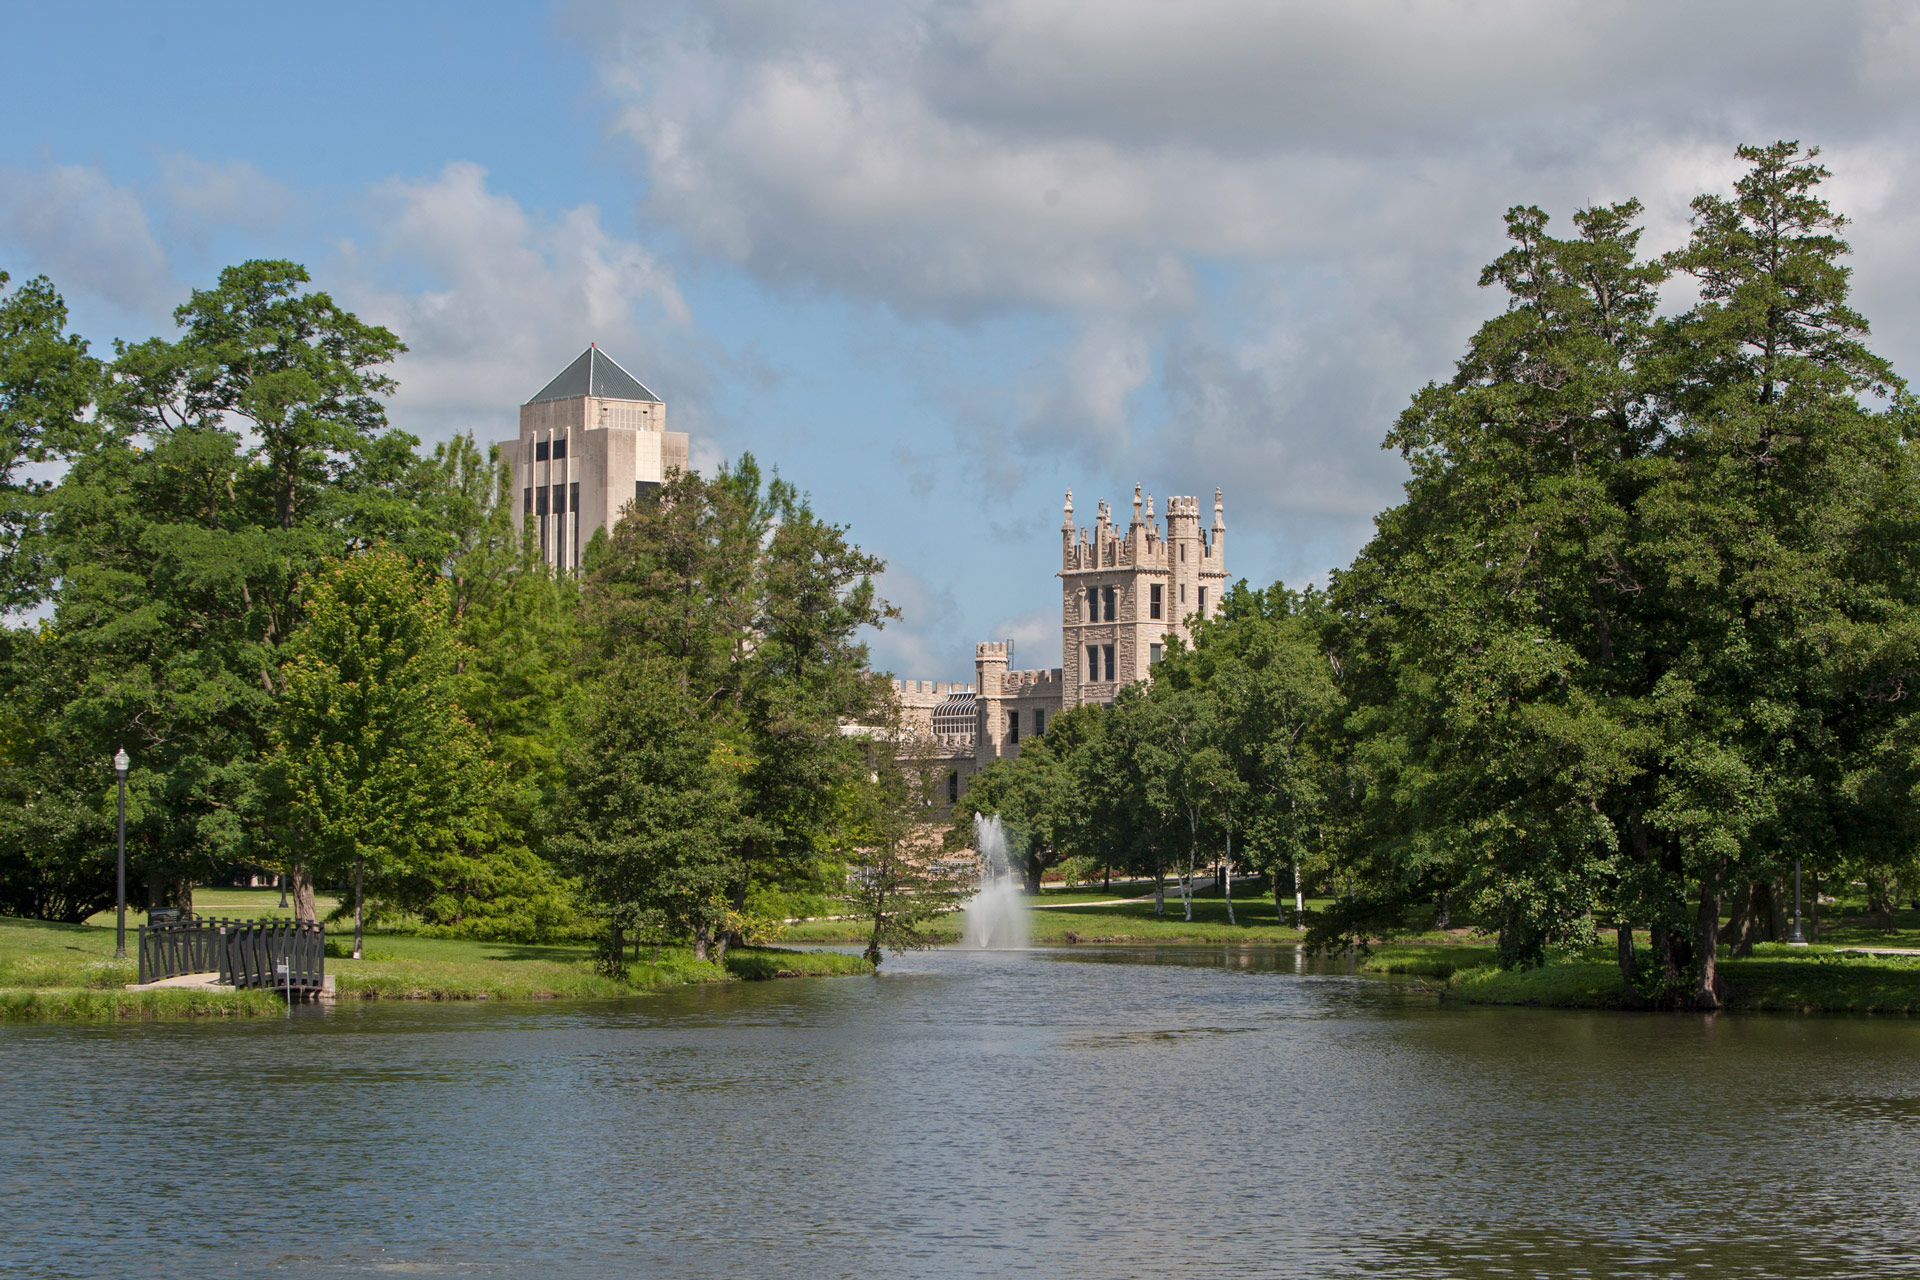 |
| View Altgeld Hall on map | View Castle Gates on map | View Huskie Pride Sculpture on map | View Victory Bell on map | View East Lagoon on map |
 |
 |
 |
 |
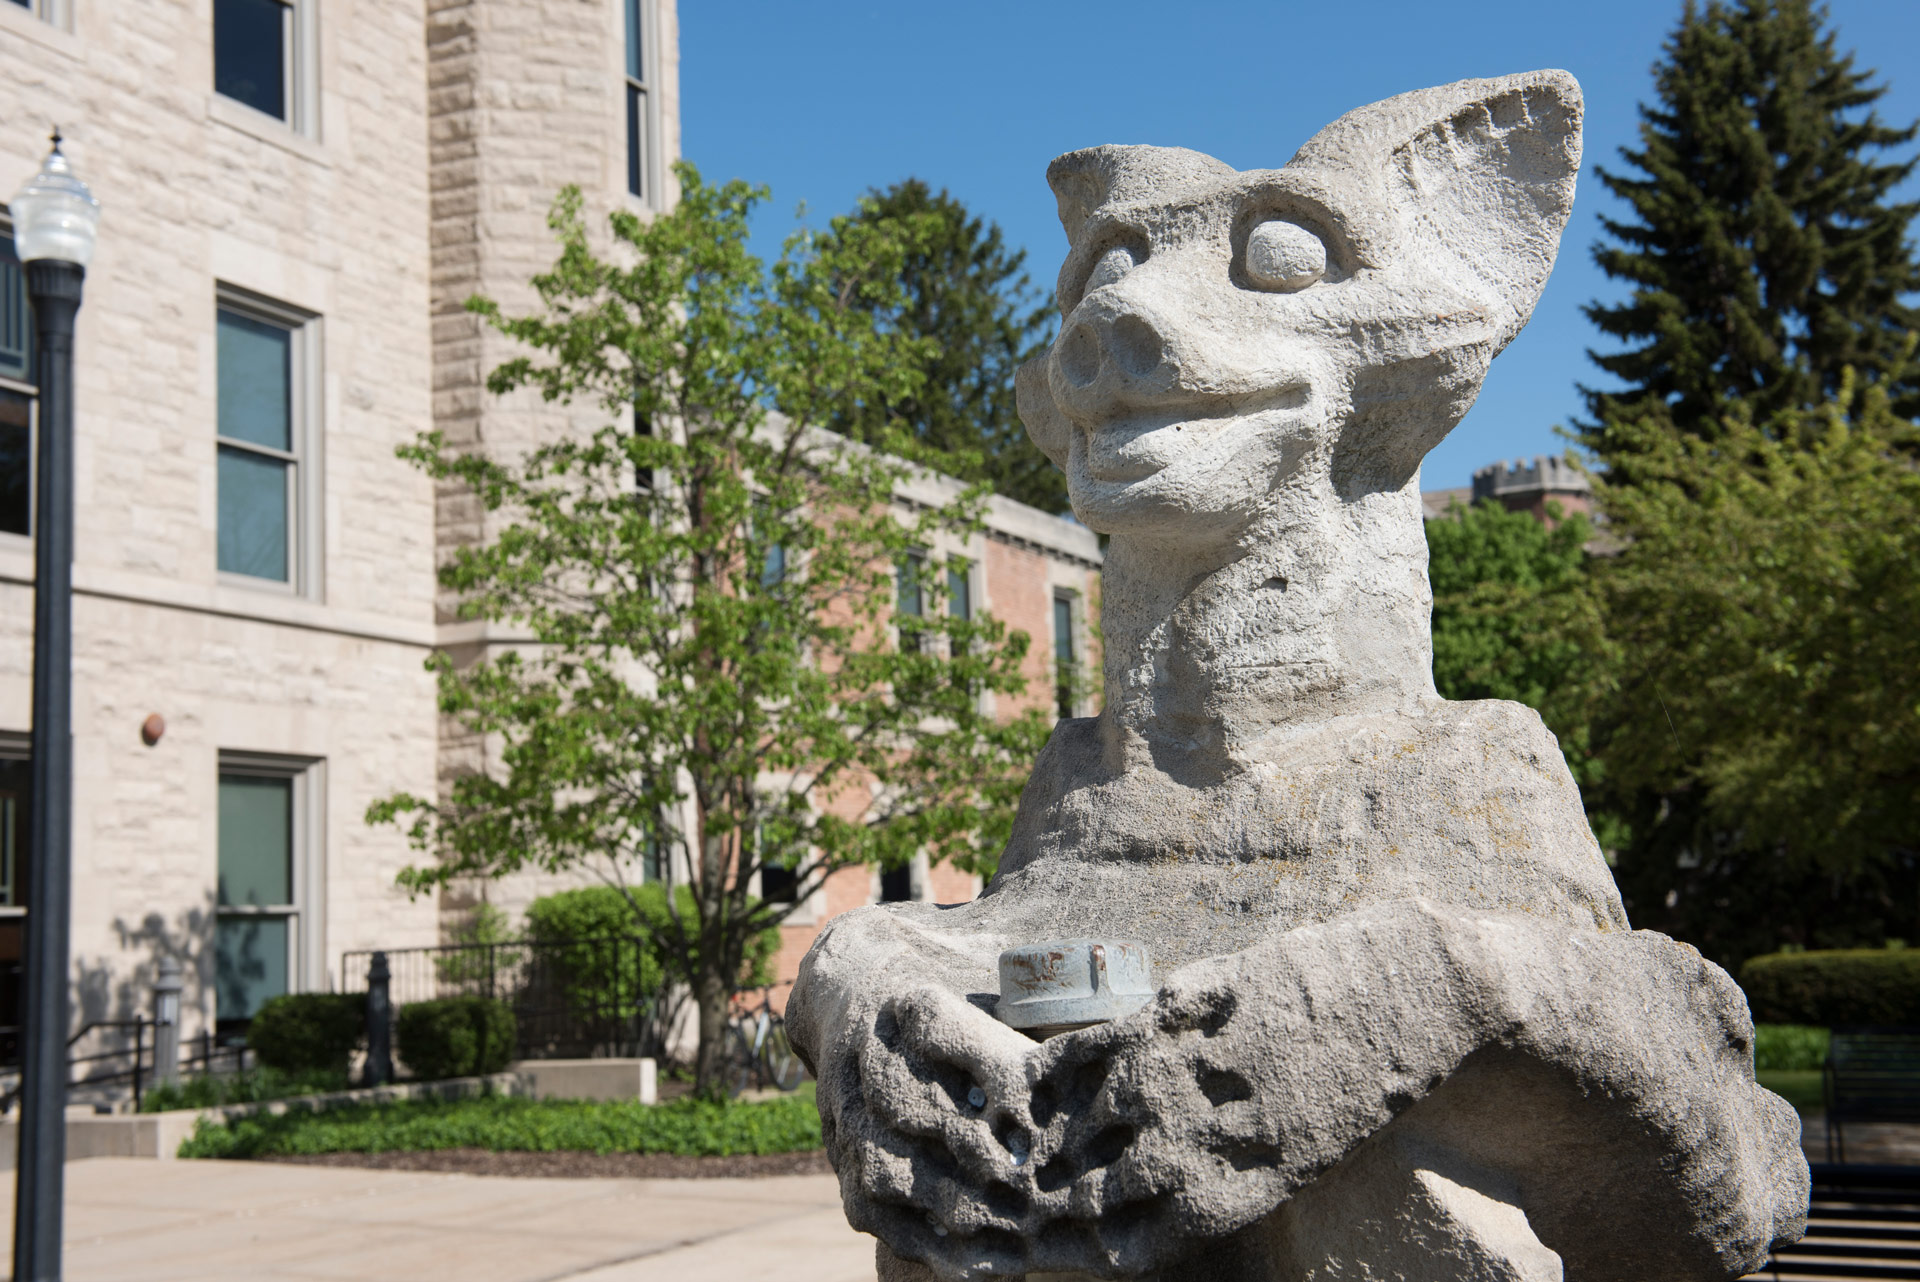 |
| View Altgeld Hall on map | View Castle Gates on map | View Huskie Pride Sculpture on map | View Victory Bell on map | View Altgeld (Olivegoyle) grotesque on map |
How to Create Your Photo Collage
- Download Photoshop Mix and either log in or make an Adobe ID.
- Download the campus image of choice and set the “background image” to your photos.
- Pick a “foreground image” from your camera roll or take a new one.
- Open Photoshop Mix. Create a new composition with the plus sign in the corner. Add the background image you saved.
- Use the plus sign on the right of the photo to add a second image (either the foreground image or one you took). You may have to resize the images.
- In the menu at the bottom, choose “Cut Out.” There’s an “Auto” button, or you can use “Smart” to paint areas in or out. (A combination of these two usually works best.)
- Once you’ve got your top image cut out and placed where you want it, use the layers to the side of the photo and drag the top layer box onto the bottom layer box. Choose “Harmonize on Layer.” This will edit the lighting, so you look like you’re really there.
- Get creative with “Looks,” add filters, or simply share your image from there.
Photoshop Mix Tutorials